

For the last card in this series, I chose to make a landscape orientation card but, this layout also works well in portrait orientation if you want a different look.
Stampin’ Up! Products Used:
- Basic Gray cardstock 8 1/2″ x 5 1/2″
- Smoky Slate cardstock 4″ x 4″
- Rustic Harvest DSP (Patterned Paper) 3 1/2″ x 3 1/2″
- Basic Black cardstock scrap for die cut
- Stampin’ Dimensionals (Adhesive Foam)
Other Products Used:
- Thanks die by Poppy Stamps
- Solar White cardstock by Neenah scrap for die cut
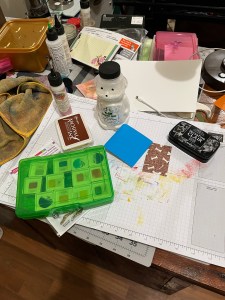
After cutting my cardstock to the desired sizes, I marked the center of the top edge of the Smoky Slate and DSP squares. I then cut from the center mark to the bottom right corner of each square and from the center mark to the bottom left corner of each square to make 3 triangle from each square. I then layered the DSP triangles on the Smoky Slate. I cut the Thanks script layer from white cardstock and the shadow layer from Basic Black.

Using the center finding ruler at the top of my grid paper, I centered the large triangle on the card base and placed the smaller triangles to each side. (I marked the alignment with red pen after laying out the pieces before adding glue.)

To finish the card I added Stampin’ Dimensionals to the back of my sentiment and used a ruler and the grid paper to align it on the card.

I really like the simplicity of this layout. It would work for just about any occasion.
Leave a Reply