
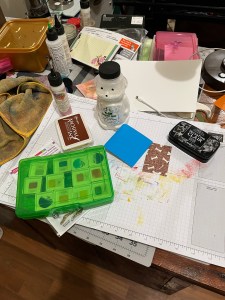

This card design shows the easy way to make a step card. This one is 5″ x 7″ but can easily be resized. Gather your supplies and let’s get started!
Supply List
- Cardstock
- Smoky Slate 3 1/2″ x 2 1/2″ approx. for bunny
- Basic White 11″ x 7″, 3″ x 8 1/2″ plus scraps for die cutting
- Ink
- Mossy Meadow
- Shaded Spruce
- Pacific Point
- Smoky Slate
- Stampin’ Blends
- Light Shaded Spruce
- Balmy Blue Combo
- Light Night of Navy
- Bermuda Bay Combo
- Flirty Flamingo Combo
- SU 800
- Stampin’ Write
- Smoky Slate
- Stamps
- Easter Friends
- Daffodil Daydream (sentiment)
- Nature’s Prints (available May 3, 2022)
- Dies
- Natural Prints (available May 3, 2022)
- Adhesives
- Liquid Glue
- Stampin’ Dimensionals

First, score the 11″ x 7″ White card along the 11″ side at 1 1/2″, 3″, and 7″. Score the 3″ x 8 1/2″ piece at 5″. Use your favorite tool to blend Mossy Meadow and Shaded Spruce on the bottom of the card base up to the 1 1/2″ score line and the bottom 2″ of the longest end of the second piece of White card. Use a stencil or other object with Pacific Point ink to make clouds on the card base and center step. I used the cloud shaped tag from a pair of slipper socks. 🙂

Next I stamped the bunny from the Stampin’ Up! Easter Friends stamp set using Smoky Slate ink on Smoky Slate cardstock. Then I cut out the image with my scissors. I used the Smoky Slate Stampin’ Write marker to darken the eyes, nose and mouth of the bunny.

After stamping the sentiment from the Daffodil Daydream stamp set in the top left corner of the card base, I glued the bottom of the center step slightly to the right of the center on the bottom 1 1/2″ below the fold. (Does that mean this should be called an “Off Center Step Card”?
I only added glue to the bottom inch of so of the opposite end of the center step and made sure there was a slight bow in the center step piece while the card is closed so it will sit easily in the open position.

I placed Stampin’ Dimensionals on the back of the bunny and stuck him to the center step. Originally, I thought this would complete my card but it needed something more.

I stamped the single flower from the Nature’s Prints stamp set 3 times, colored them with Stampin’ Blends, cut them out with the matching die and glued them to the card.
I hope you will have fun making one of these easy step cards.
The content of this blog is my own and is not endorsed by Stampin’ Up! All images copyright Stampin’ Up! 1999-2022
Leave a Reply